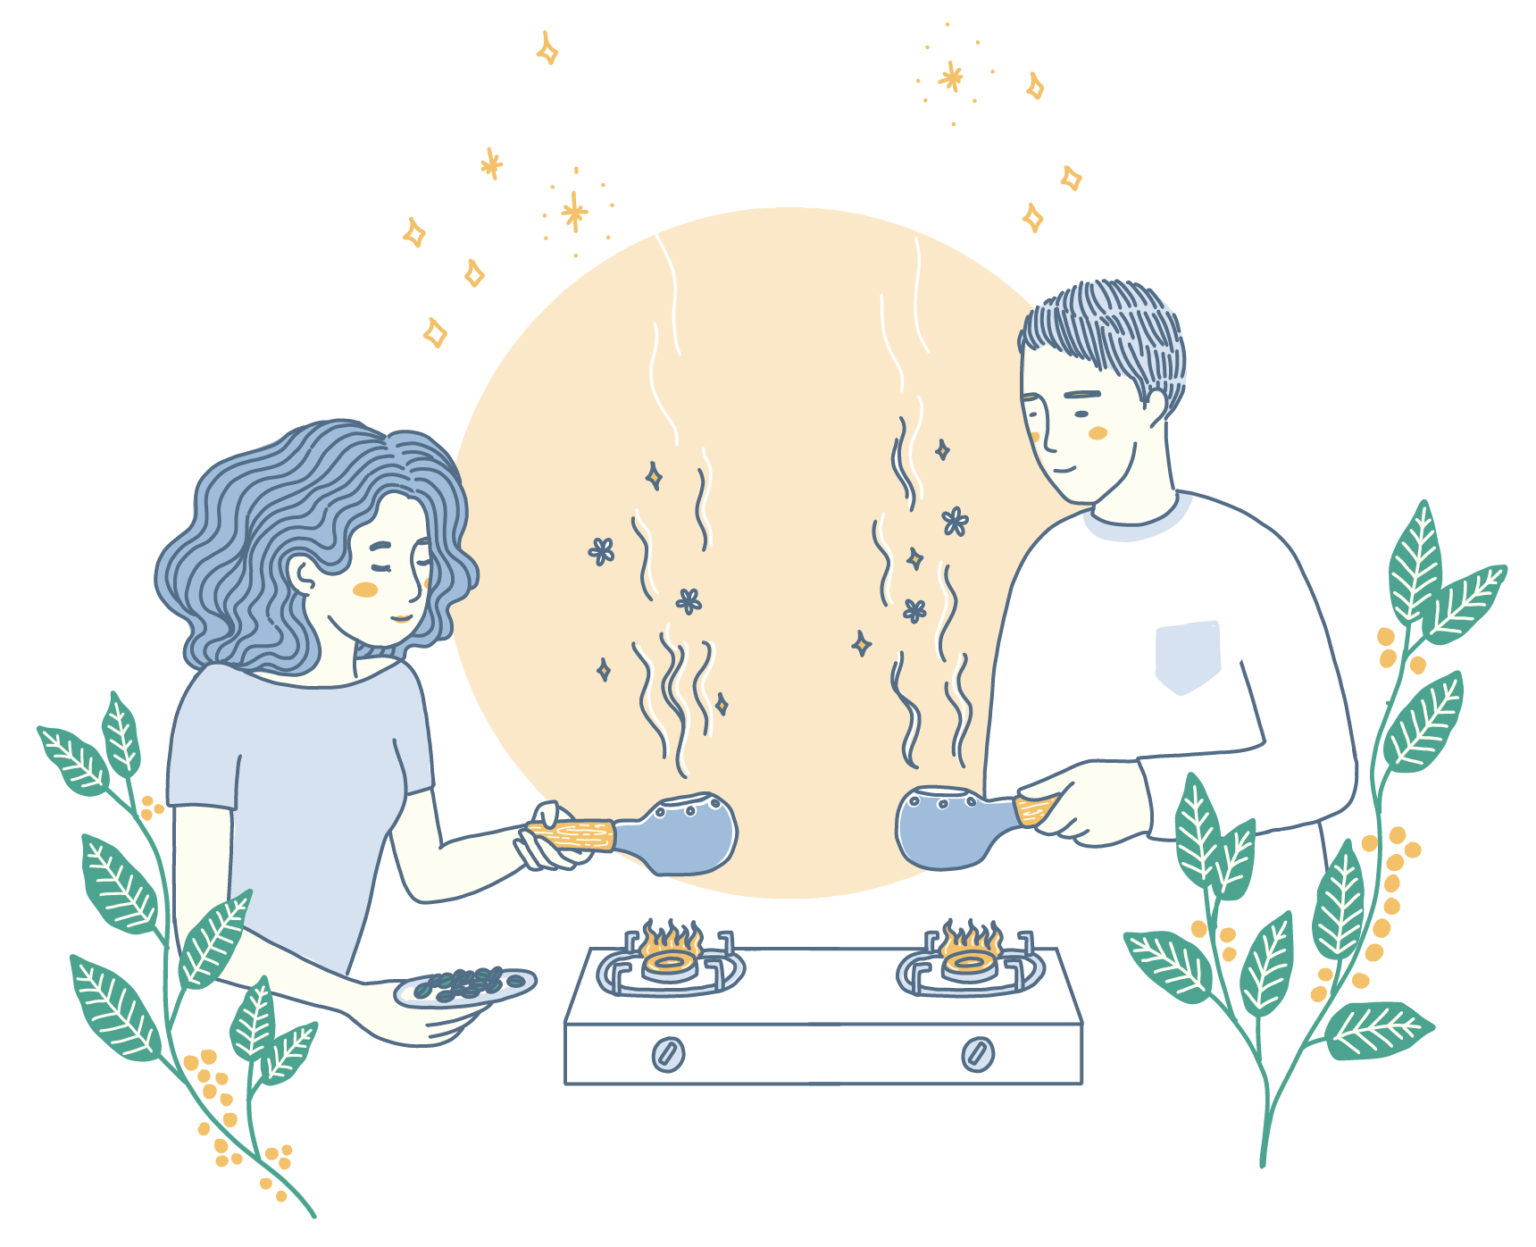

Your manual roaster, created by Tanteri x Masama

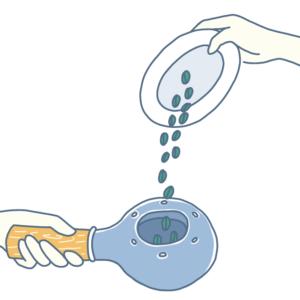
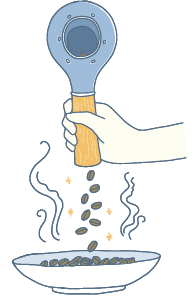
A plate or bowl

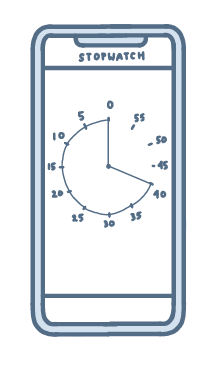
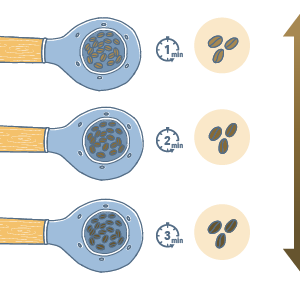
A stopwatch!
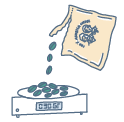
20-30 grams of green coffee beans

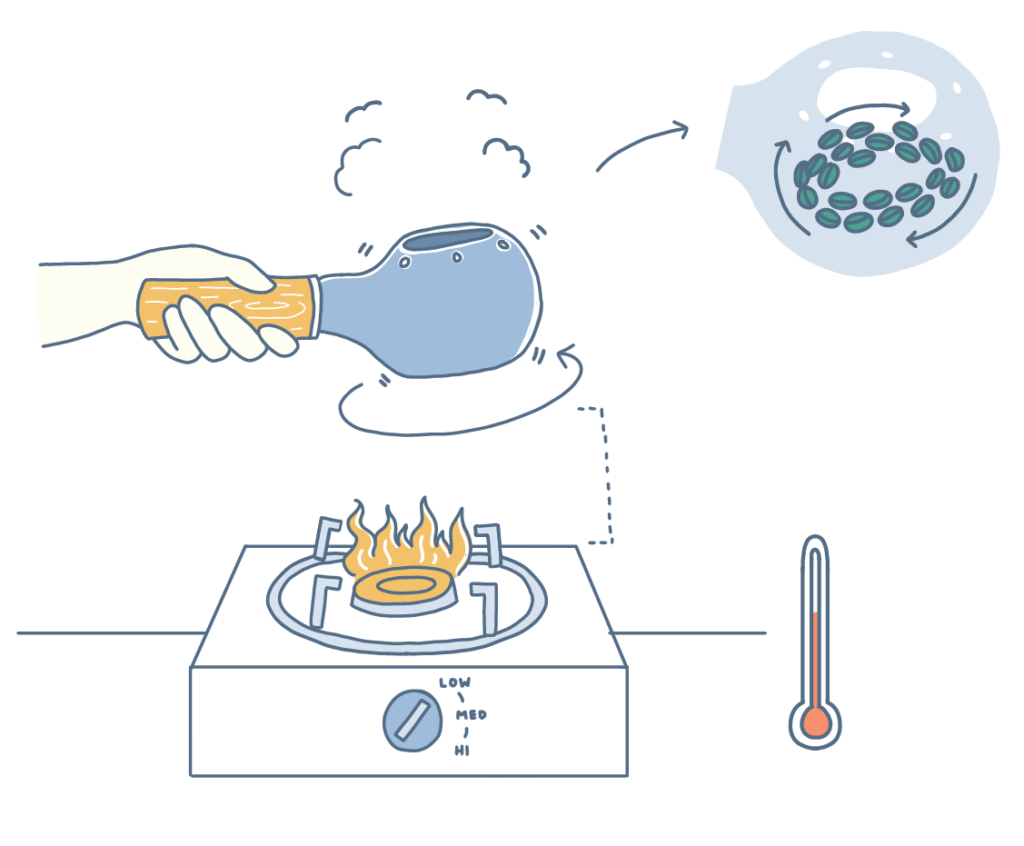
A stove


Our instruction illustrations were created by Flora Marcella, a talented Indonesian artist.
Flora is a singer/writer/visual artist originally from Jakarta Indonesia. Currently, she lives in Denpasar, Bali where we met for a watercolor class. Flora has a soft soul and is a creative woman that deserves your attention! Click on the picture below to know more about her.
